read
I had an ATtiny85 micorcontroller lying around at home since I attended a couple of circuit hacking workshops at Double Union earlier this year. The workshops were fun and got me hooked on to playing with tiny microcontrollers and making paper circuits.
When a colleague at work showed me the Adafruit Neopixel a few weeks back, I got intrigued by the idea of programming these LEDs with the ATtiny85. A quick google search pointed me to a well written Instructable on driving Neopixels using ATtiny85.
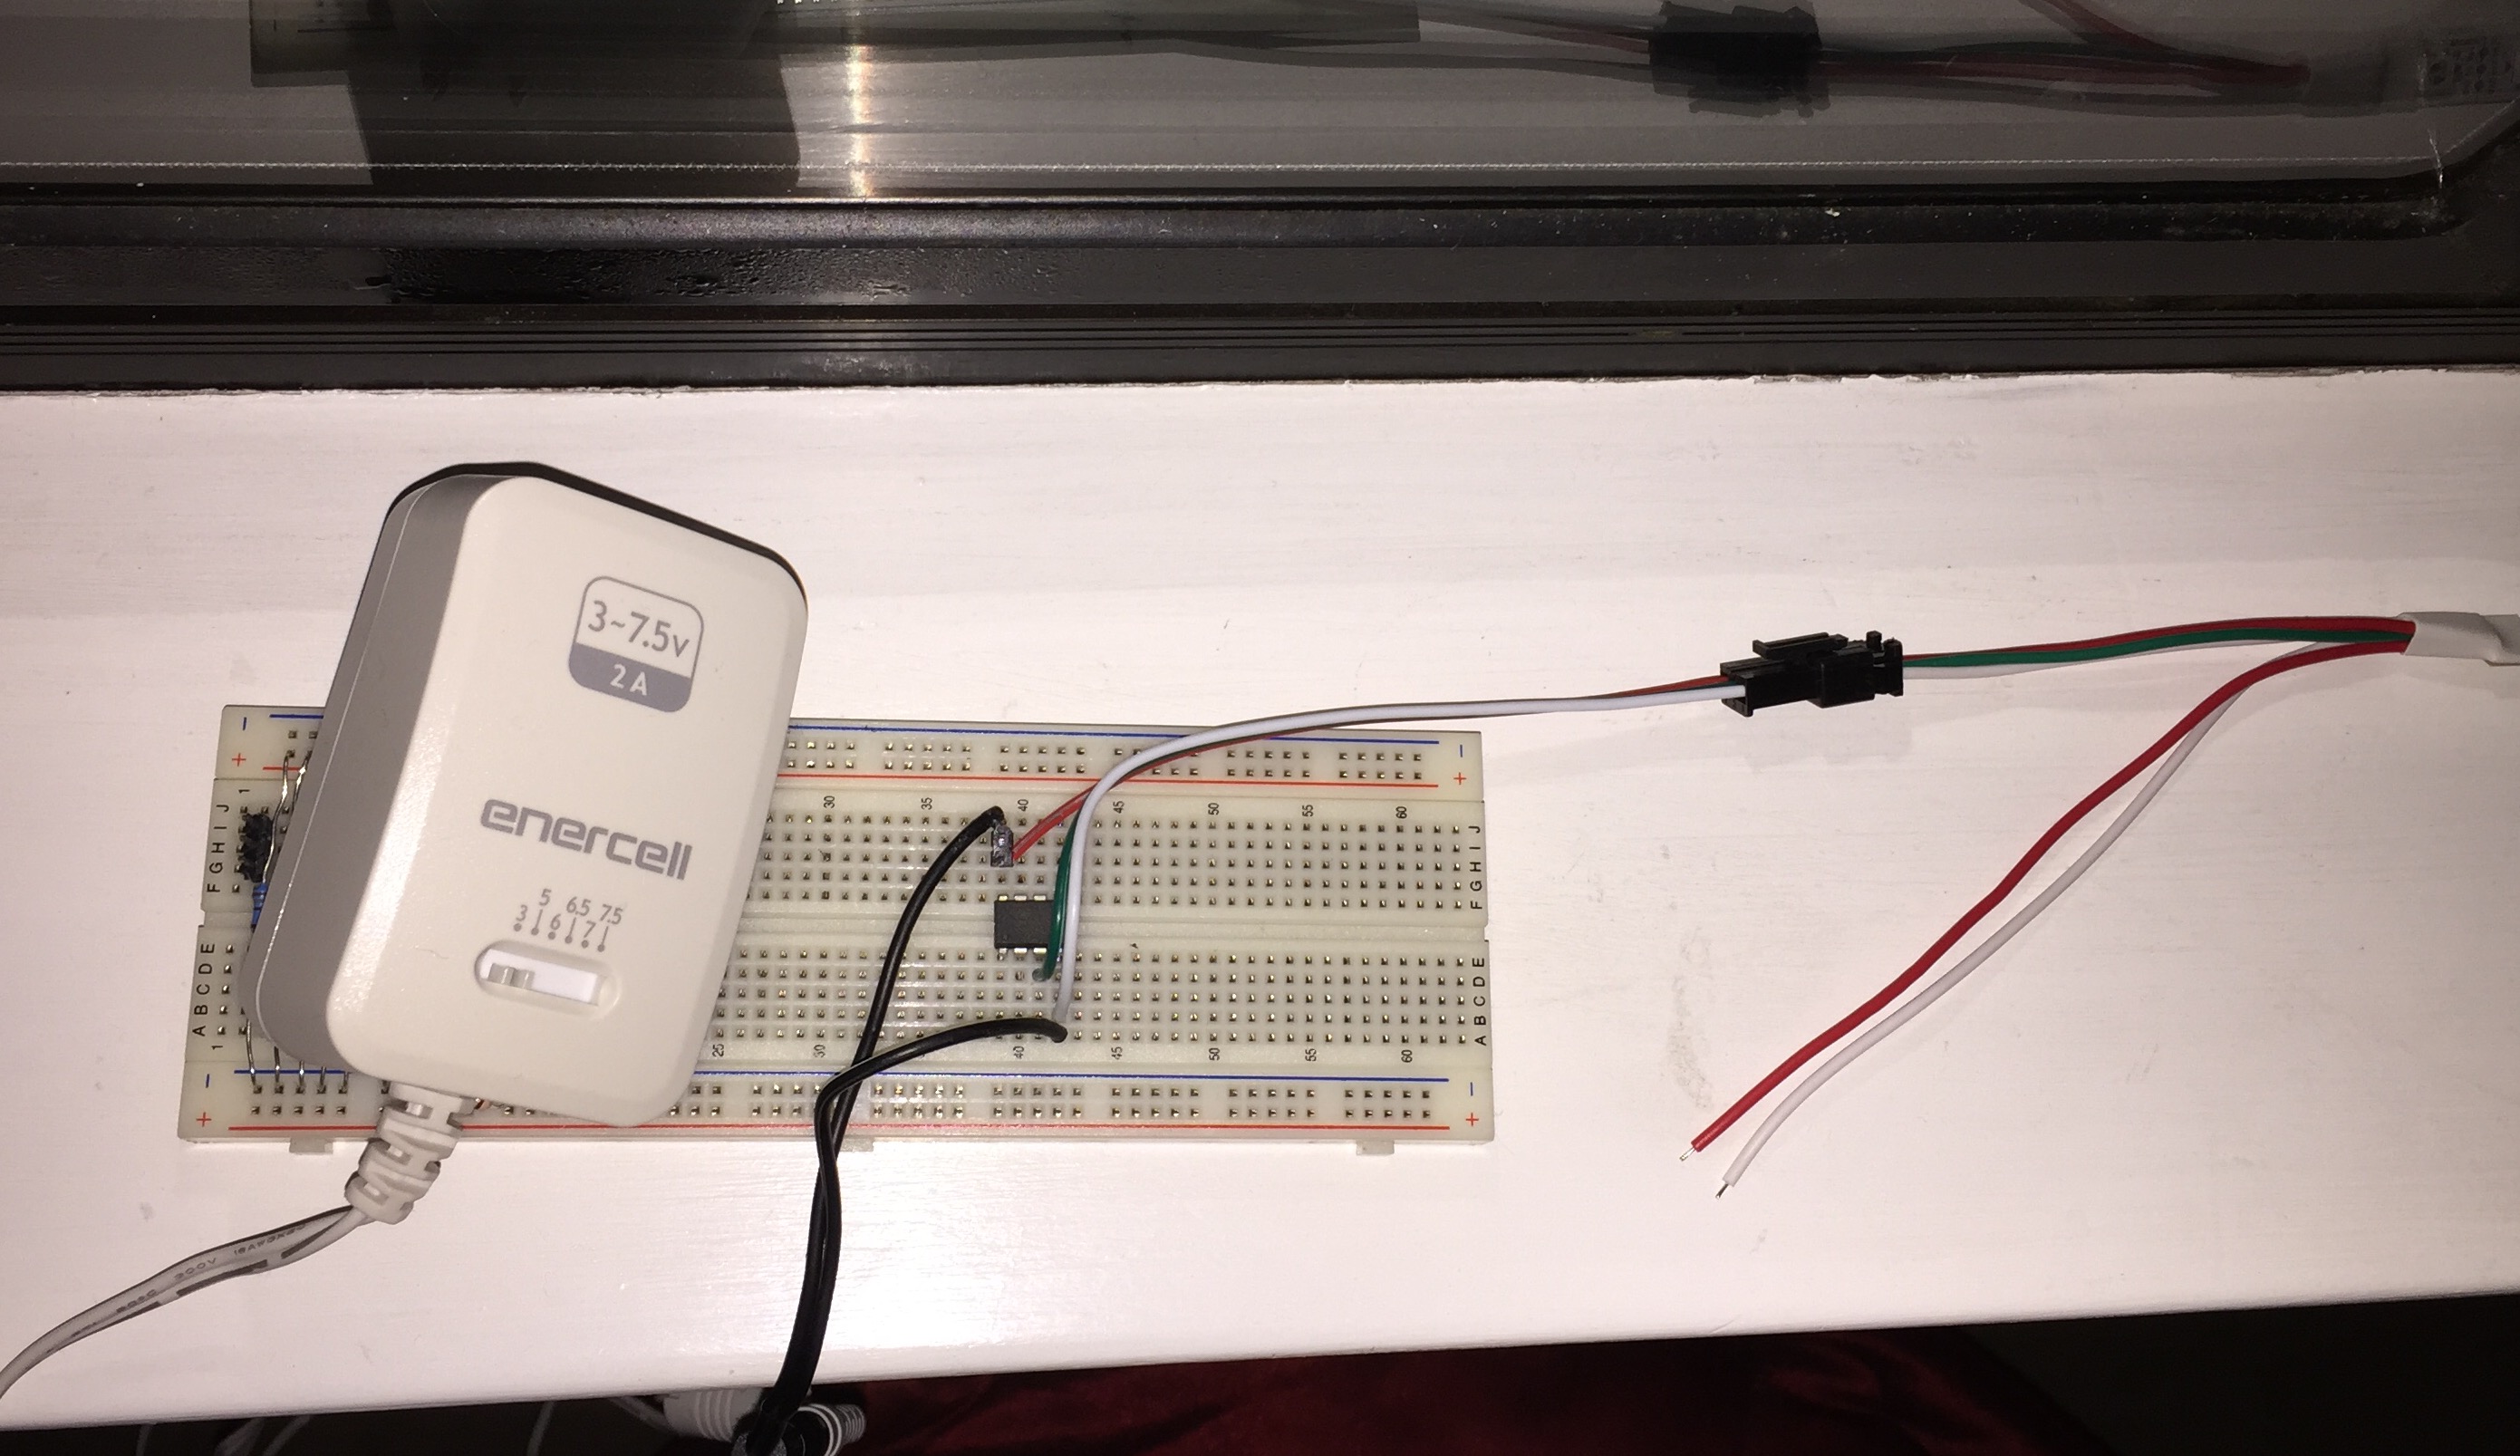
Half an hour of tinkering around and refreshing my memory on how to use a breadboard ;-) and voila I had my rainbow LEDs!
Check it :
If you want to do something similar and are using the Instructable link above keep the following things in mind:
- The ATtiny85 (internal 8 MHz clock) configuration can drive the Neopixels. Hence once you copy the attiny folder to the “hardware” directory under sketchbook (sketchbook location on my Mac is at /Users/username/Documents/Arduino), you can safely skip the instructions around editing the boards.txt file
- Once you select your “Board” to ATtiny85 (internal 8 MHz clock) in the Arduino programming environment, don’t forget to hit “Burn Bootloader”. I missed doing this initially and just had 2 LEDs glowing instead of the 60!
- For this demo I did not use the capacitor or the resistor that the instructable encourages you to use in your circuit.
- I used the Sparkfun Tiny AVR Programmer to program my ATTiny85 microcontroller from the Arduino environment
- I used a 5V power supply for the circuit.
